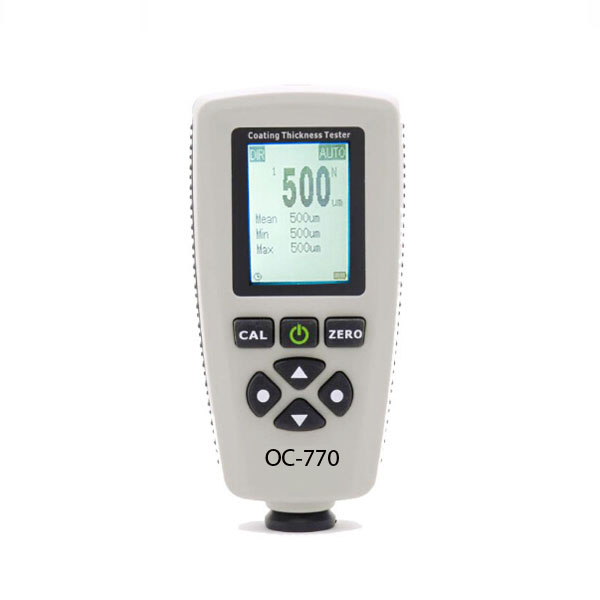
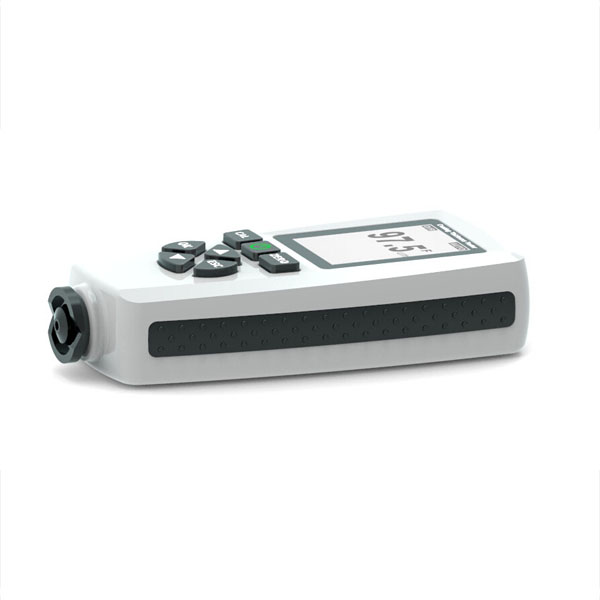
OC-770 Paint thickness gauge working principles both of magnetic induction and the eddy currents. The probe can automatically detect the substrates type (Magnetic or not), and calculate the coating thickness and display it fast.
With five groups data, and data will be automatically stored to memory for general groups (Not for direct group). Each group has individual statistics, alarm limit settings and calibration. User can recall and delete specified readings easily.
User does all operations via standard menu so easily. User can press the CAL button to start calibration freely.
FEATURES
A. 128*128 dot matrix LCD display, standard menu
operations;
B. Two measure mode: single and continuous;
C. Two group mode: direct (DIR) and general(GEN), readings will be lost when
power off in direct mode, and not be lost in general mode. 80 readings can be
stored for each group;
D. Zero point calibration and multi-point calibration(up to 4 points) for each
group;
E. User can recall, delete specified readings, or delete group readings;
F. Statistics display: mean, minimum, maximum and standard deviation;
G. Three probe mode: auto, magnetic and eddy current;
H. User can set high or low limit alarm for each group;
I. Power off automatically;
J. USB interface to data transmission;
K. Low battery and error indication;
SPECIFICATIONS
1. Measuring principle: Magnetic induction (F-probe) and
eddy current (N-probe);
2. Measuring range: 0 to 1300um (0 to 51.2mils);
3. Accuracy: ± (3% of readings+2um);
± (3% of readings+0.078mils);
4. Resolution: 0um~999um (1um), 1000um~1300um (0.01mm);
0mils~39.39mils (0.01mils), 39.4mils~51.2mils (0.1mils);
5. Calibration: One to four point calibration, zero calibration;
6. Data Group: One direct group (readings not be stored to memory), four
general group (readings can be stored), and each group have individual
statistics, alarm settings and calibration;
7. Statistics: No. of data, mean, minimum, maximum and standard deviation;
8. Units: um, mm and mils;
9. Alarm: high/low alarm adjustable, and alarm icon displayed on LCD when
up to the limit;
10. Minimum curvature radius: convex 1.5mm(59mils) and concave 25mm(984mils);
11. Minimum measuring size: Diameter 6mm(236mils);
12. Minimum thickness of substrate: F-probe: 0.5mm(0.02"), N-probe:
0.3mm(0.012");
13. USB interface;
14. Power supply: 2* 1.5v AAA battery;
15. Working temperature: 0℃ to 40℃(32℉ to 104℉);
16. Storage temperature: -20℃ to 70℃(-4℉ to 158℉);
17. Size: 110*53*24mm (4.33"*2.09"*0.94");
18. Net Weight: 92g (3.24oz);
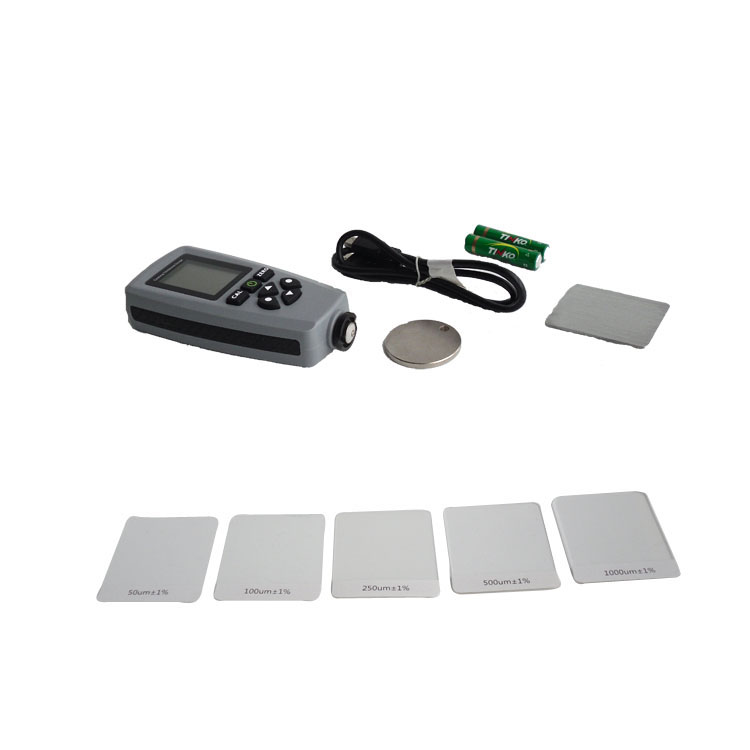
CONFIGURATION
|
Index |
Item |
Quantity |
Note |
|
1 |
Gauge |
1 |
|
|
2 |
Substrate |
2 |
|
|
3 |
Standard foil |
5 |
|
|
4 |
1.5V AAA battery |
2 |
|
|
5 |
Technical manual |
1 |
|
|
6 |
USB cable |
1 |
|
|
7 |
Package |
1 |
Tool box |
PACKAGE
|
Tool box |
Dimension: 235 x185 x47mm Gross weight: 496g |
|
Gift box |
Dimension: 235 x160 x62mm Gross weight: 371g
Dimension: 165 x105 x50mm Gross weight: 265g |
|
CTN (Tool box) |
50pcs/CTN Dimension: 650*500*400mm Net weight: 24.8kg Gross weight: 26.4kg |
|
Warranty time |
12 MONTHS |


